在制作人像海报时,可以制作一些效果吸引用户眼球,下面为大家分享如何使用PS制作燃烧效果的人像照片,希望大家喜欢。
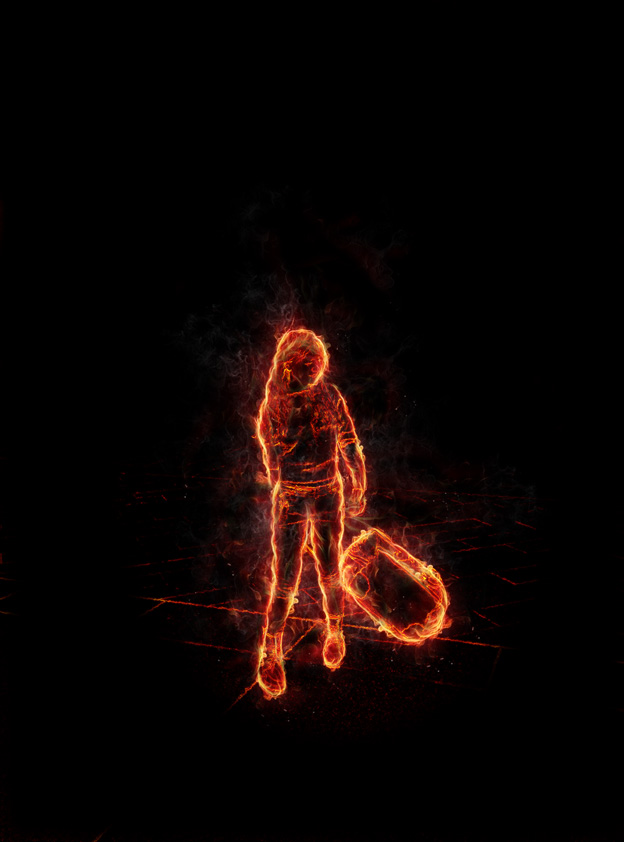
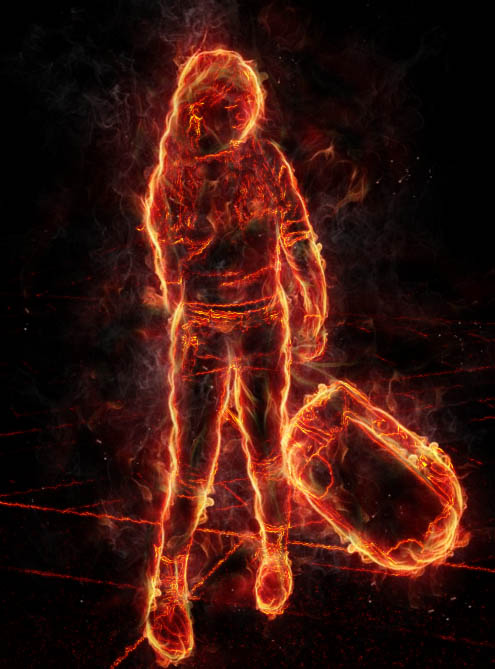
最终效果
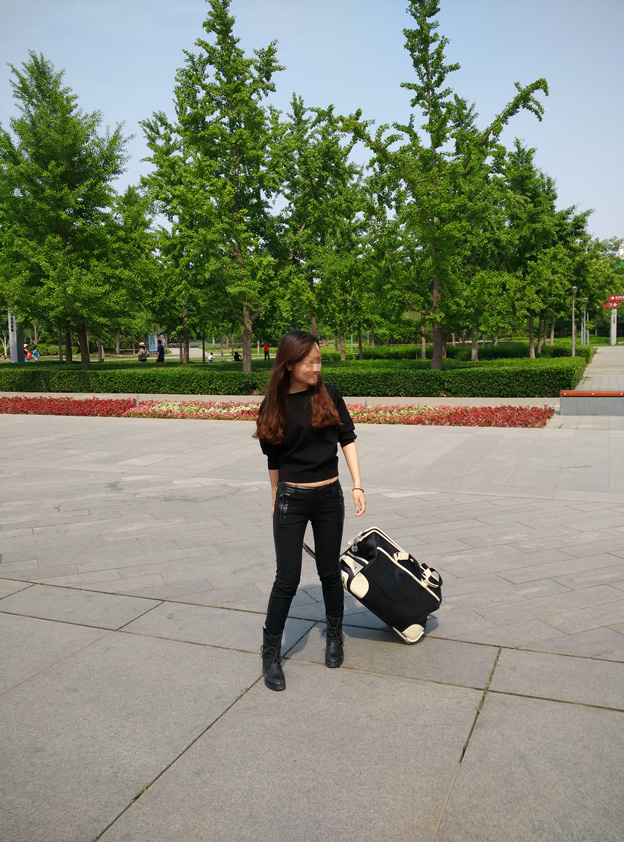
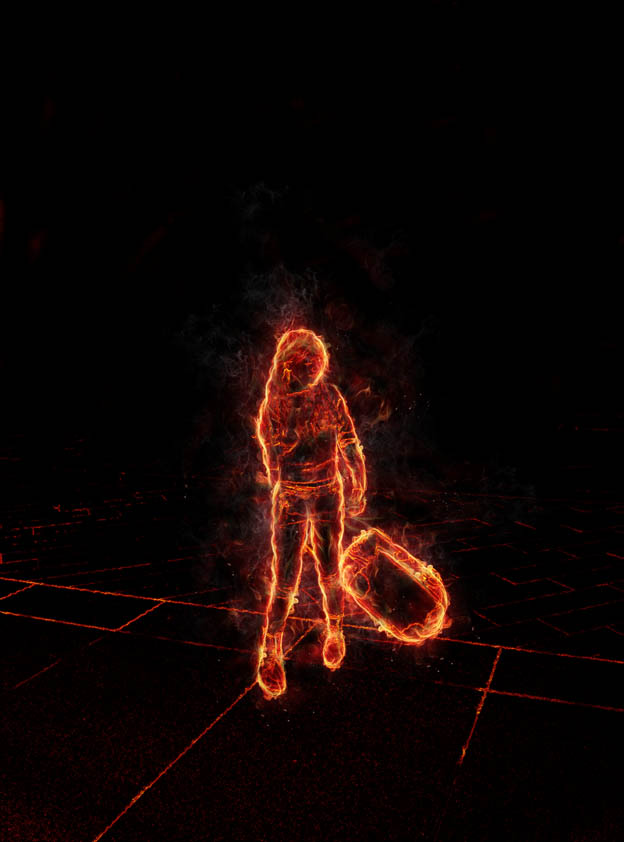
原图
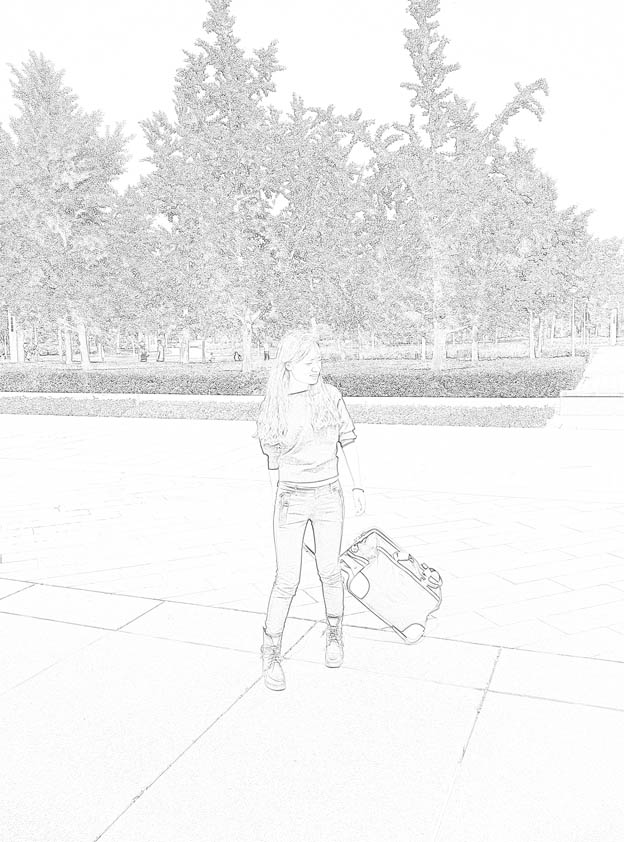
1、导入原图,使用快捷键Alt+Shitf+Ctrl+B图层黑白效果,然后再CTRL+J复制一层,并CTRL+I使用对复制的图层进行反相处理。然后调整图层样式为颜色减淡,点击滤镜-模糊-高斯模糊,模糊数值为1.8。
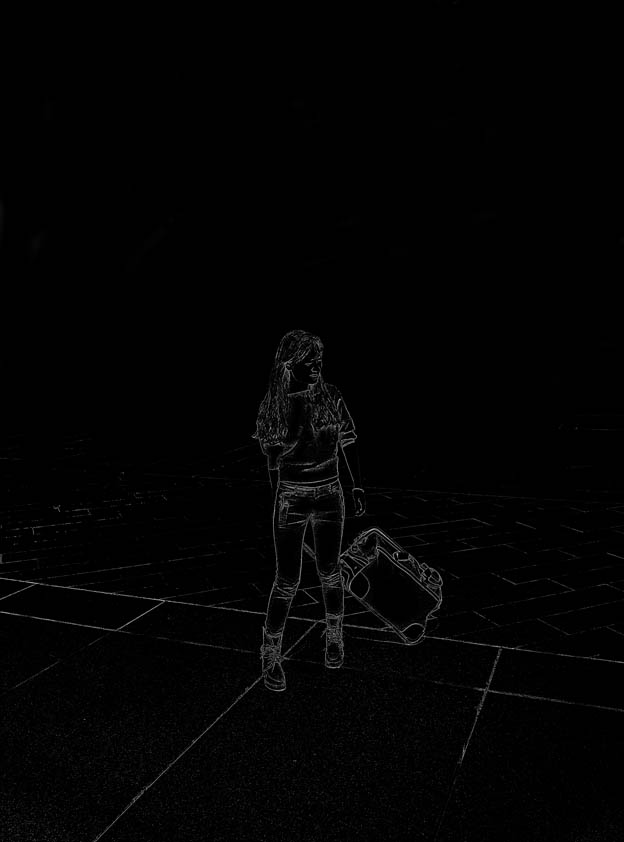
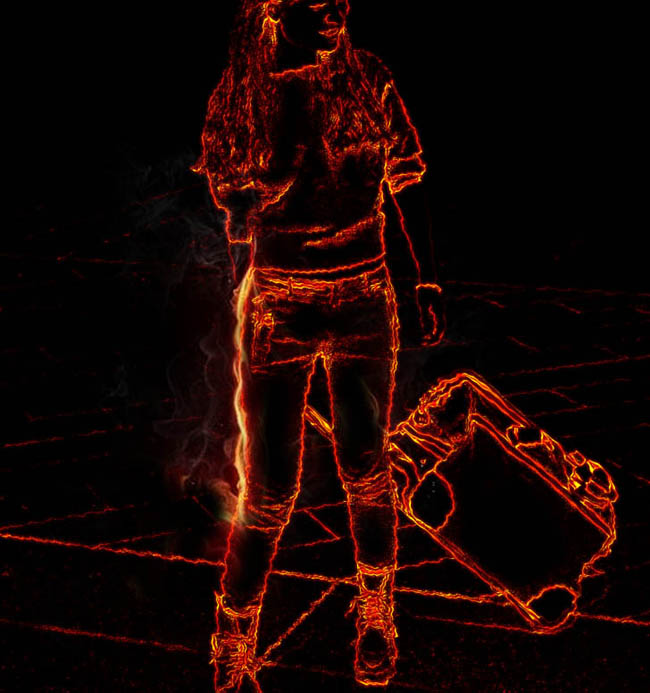
2、按ALT+CTRL+SHIFT+E盖印图层,使用CTRL+I进行反相。点击通道并复制红色通道,进行色阶或曲线处理。然后按住CTRL,点击复制的红色通道,载入选区。回到图层面板,使用CTRL+J复制图层并更改名字为线稿层。使用橡皮擦工具擦除多余背景,在下面新建一个黑色图层。
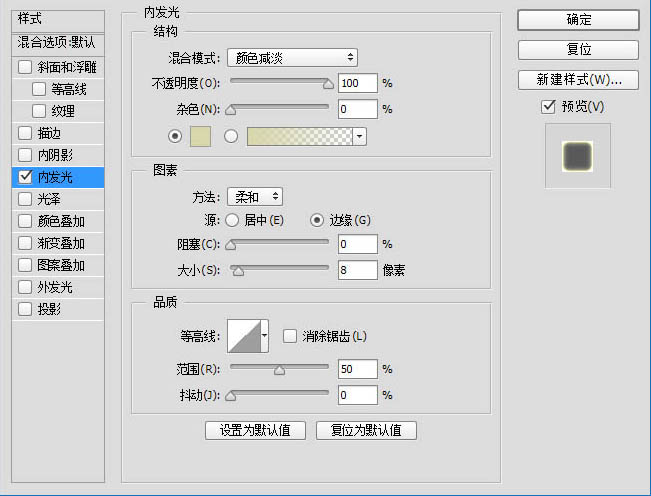
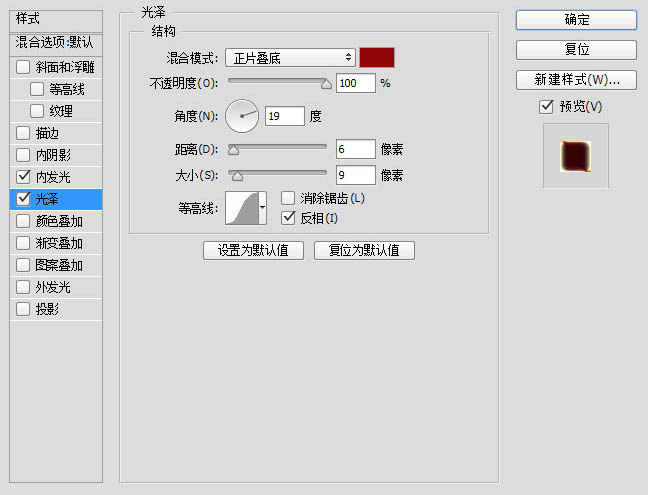
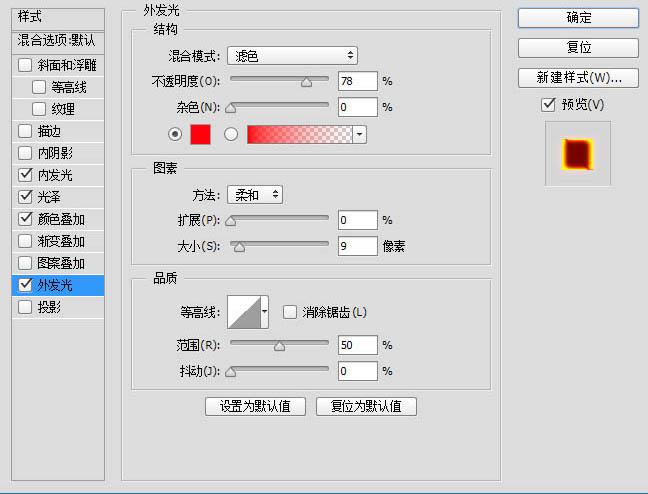
3、双击线稿层,设置图层样式:内发光、光泽、颜色参加、外发光,具体如下:

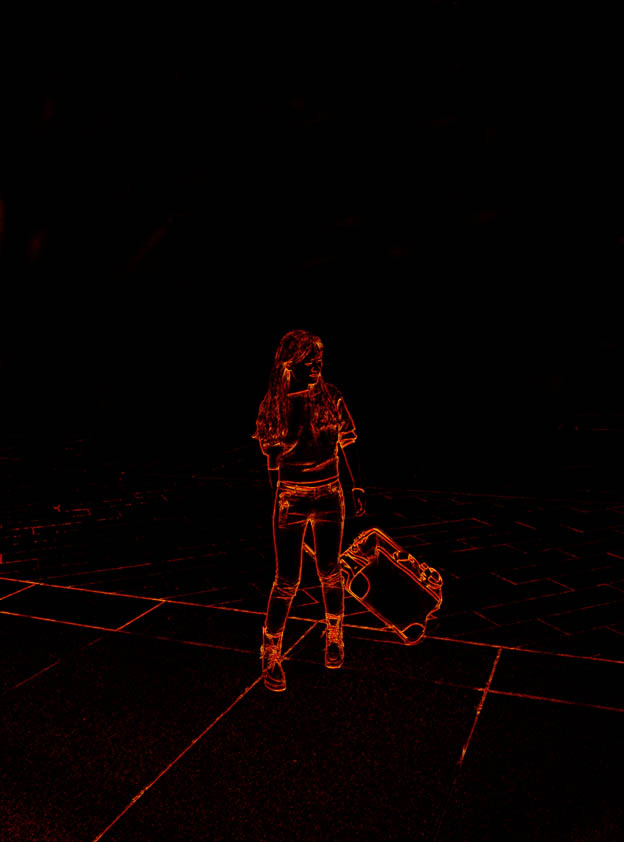
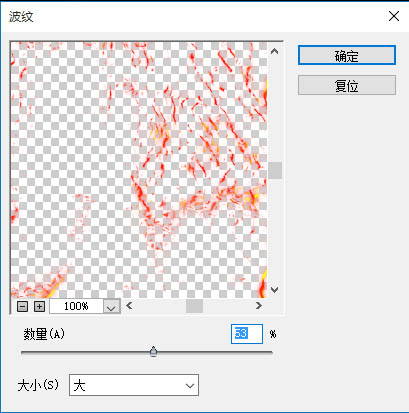
4、点击滤镜-扭曲-波纹,设置数量为53。
5、导入下面素材,复制红色通道。按住CTRL点击复制的红色通道,载入选区。回到图层面板,CTRL+J复制图层并更改名为火焰。

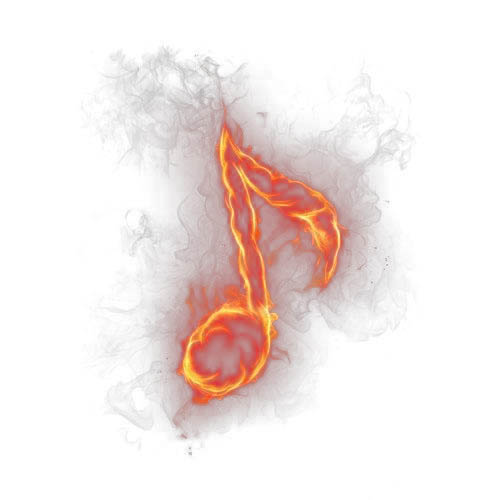
6、将火焰图层拖到线稿文件中,更改图层样式为滤色,拖到合适位置,添加蒙版,再使用画笔工具擦除多余部位。
7、不断重复步骤6。
8、新建一个镂空的黑色矩形,右键点击羽化。
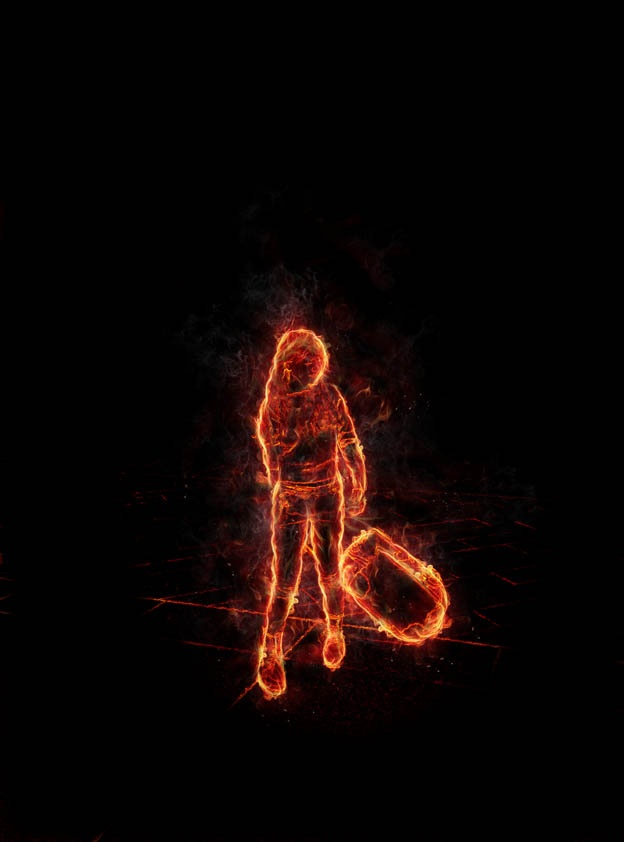
9、最后进行局部锐化处理,燃烧效果的人像照片制作完成。